.png)
HeroCoders Checklist Integration
The HeroCoders Checklist Integration allows you to build checklists within your issue templates and automatically apply them to Jira issues using the HeroCoders Checklists for Jira app.
Prerequisites
Before using this feature, ensure the following:
HeroCoders Checklists for Jira app is installed in your Jira instance.
Sync checklists to Custom Fields is enabled in the HeroCoders app settings.
This setting automatically creates the writable Checklist Text custom field required for the integration.
HeroCoders Checklist Integration Support
HeroCoders Checklist integration works when templates are applied through supported methods. The table below outlines where integration is currently available:
Method | Support Status |
|---|---|
Apply Template to Issue (Issue Panel) | ✅ Supported |
UI Modification | ❌ Not Supported |
Enable or Disable the Feature
Step 1: Navigate to Settings
Open Smart Issue Templates app.
Click Settings to access the Manage Settings page.
Scroll down to the HeroCoders Checklist Integration section.
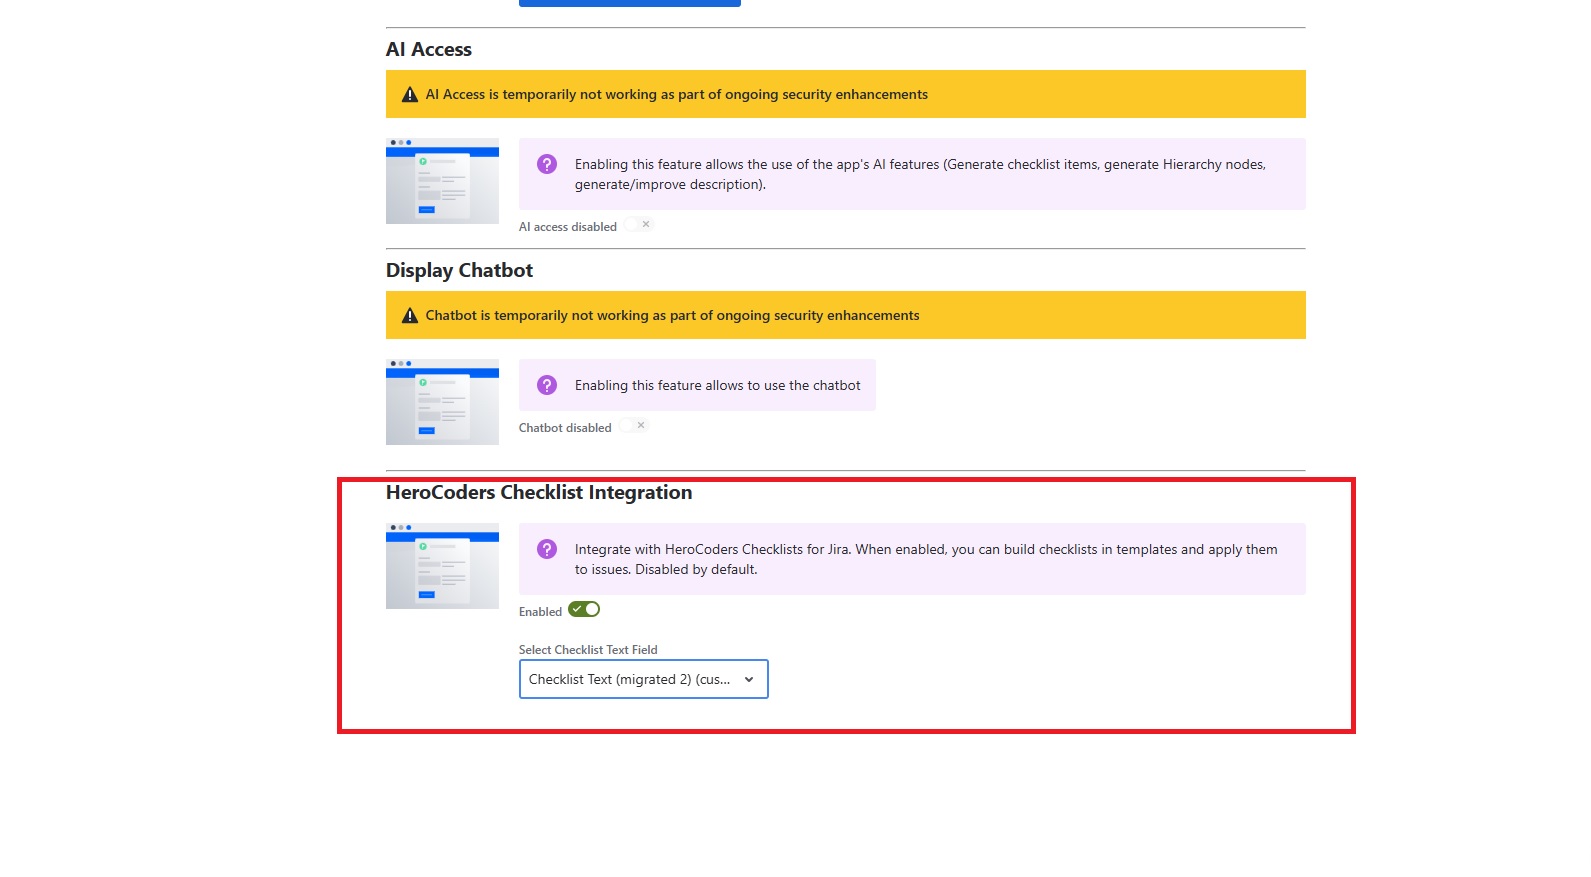
Step 2: Enable the Feature
Toggle the switch to Enabled.
Select a Checklist Text Field from the dropdown.
The dropdown displays available fields with their custom field IDs.
Example:
Checklist Text (customfield_10034)Important
Avoid selecting fields marked as view-only, because they cannot be updated through the API.
The setting is saved automatically.
Step 3: Disable the Feature (Optional)
Toggle the switch to Disabled.
When disabled:
The Checklist Builder will not appear in the Edit Template dialog.
Checklists will not be applied when using templates.
Note:
This feature is disabled by default.
Building Checklists in Templates
Step 1: Edit a Template
Go to the Issue Templates page.
Select a template you want to edit.
Click Edit Template Content.

Step 2: Use the Checklist Builder
Scroll to the HeroCoders Checklist section (visible only when the feature is enabled).
You can create checklists using:
Sections
Click Add Section to create a new checklist section with a title.
Items
Click Add Item to add checklist items within a section.
After finishing your checklist:
Click Update to save the template.
Applying Checklists to Issues
Method 1: Apply Template to an Existing Issue
Open a Jira issue.
Click Apply Template (play button) from the Smart Issue Templates panel.
Select a template that contains a checklist.
The HeroCoders Checklist Field dropdown will appear (pre-selected with your configured field).
Click Apply.
The checklist will be automatically applied to the issue’s HeroCoders Checklist field.
Method 2: Create Issue from Template
When creating a new issue using a template that includes a checklist:
The checklist will be automatically applied to the newly created issue.
Troubleshooting
Issue | Solution |
|---|---|
Checklist Builder not visible in Edit Template | Enable the feature in the Settings page |
No Checklist Text fields in dropdown | Install HeroCoders app and enable Sync checklists to Custom Fields |
Checklist not applied to issue | Ensure the selected field is not view-only |
Field shows “view-only” warning | Select another Checklist Text field that supports API updates |
Settings Summary
Setting | Description | Default |
|---|---|---|
HeroCoders Checklist Integration | Enable or disable the feature | Disabled |
Checklist Text Field | Custom field where checklists will be applied | None (must be selected) |